


Creating an Organization
After signing up, you get an Organization. It’s a centerpiece of your account. Here you can purchase more licenses, invite members to join your workspace, assign user roles and manage how your team works.
Name your Organization
Your Organization has been named automatically and uses the name you have used in the registration form. You can change the Organization name anytime in the Organization’s profile.
- Choose ORGANIZATION on the Main Menu (on the left side).
- Click on the EDIT button on the Toolbar.
- Now you can update your Organization’s profile, including its name.
- Click on the SAVE button on the Toolbar when you’re done.
Set up Organization’s avatar
In the Organization’s profile you can also add a logo or an avatar of your Organization. Just click ADD PHOTO and upload your image. Don’t forget to click on the SAVE button on the Toolbar.
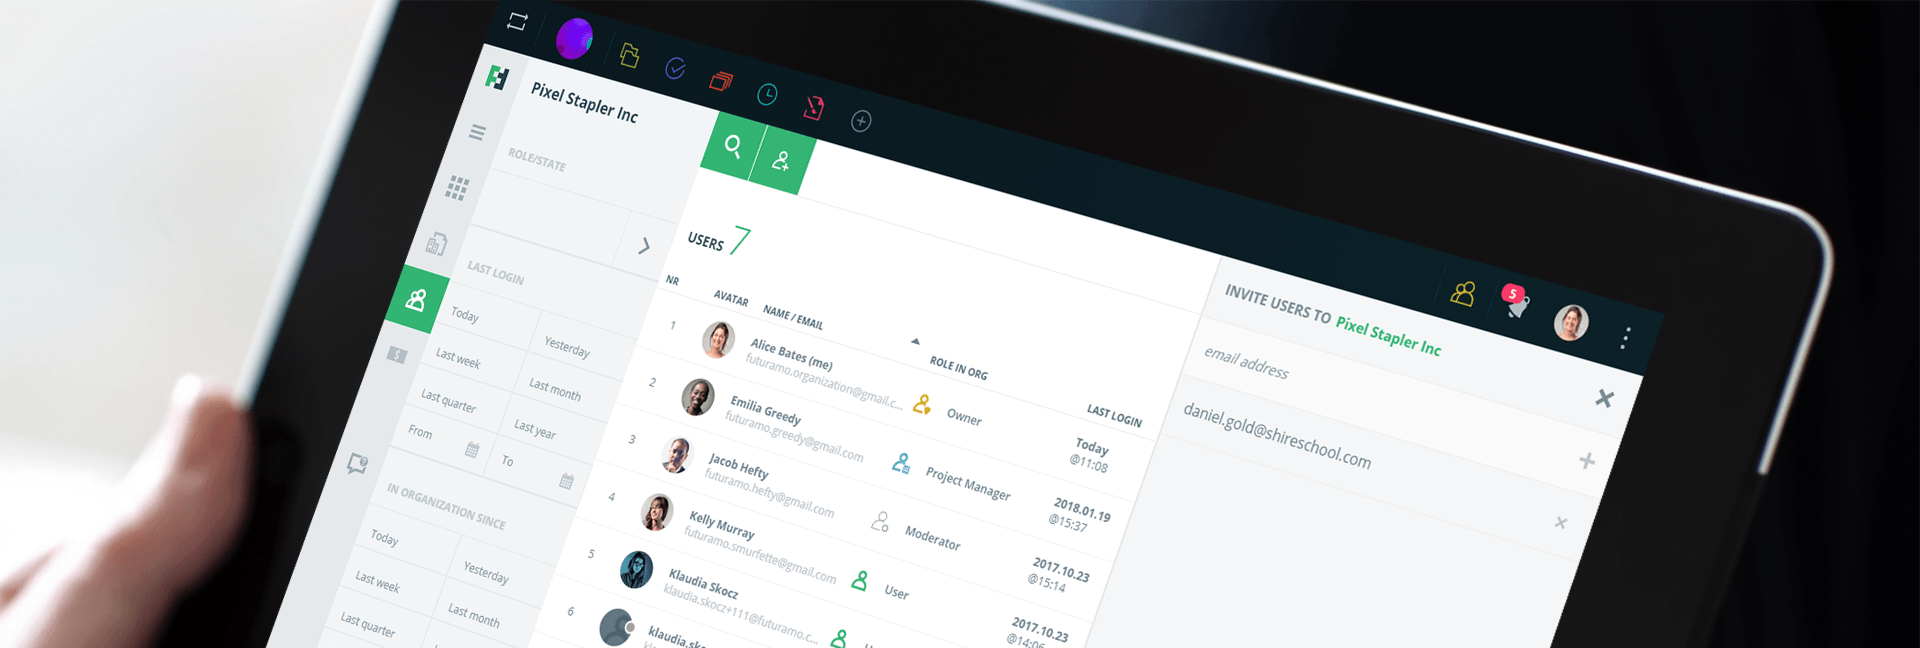
Inviting members to your Organization
Futuramo Platform was designed with teams in mind. Make sure that every team member and business partner you work with joins your Organization.
Invite your teammates now or use the steps below:
- Go to the USERS & LICENSES section on the Main Menu (on the left side).
- Click on INVITE USERS and type in email addresses of colleagues you want to have in your Organization.
- Confirm by clicking SEND INVITATIONS.
Start from inviting 2 more colleagues as they will get free access to all the collaboration apps. You can start working on common projects right way.
Getting more licenses
Futuramo gives a free access to all the collaboration apps (Tasks, Visual Tickets, Time Tracker) for you and 2 more users. If you decide that more members of your Organization should use Futuramo apps, you can easily buy more licenses.
- Click
 button on the Taskbar or go straight to the pricing page.
 - Choose the app, select time period and the number of licenses. Then click GO TO STORE.
- Confirm your order or make needed changes and go further by CONTINUE.
- Fill in your data and click CONTINUE.
- Double-check order summary and click CONTINUE.
- Choose a payment method and finish a transaction.
Now you can assign licenses to your teammates.
Assigning licenses
The first 2 invited members get all the Futuramo apps automatically assigned to them. If you purchased more licenses, you need to assign them to appropriate users.
- Go to the USERS & LICENSES section on the Main Menu (on the left side).
- Click on a chosen member of your Organization.
- Click the EDIT button on the Toolbar.
- Select ASSIGN LICENSE on the Toolbar. A slide out panel with purchased licenses will roll up.
- Click on the licenses you want to assign to given member.
- Click SAVE or SAVE & CLOSE on the Toolbar.
Now your teammates can use the apps the licenses you have assigned to them.
Managing user roles
The best way to give a team member access to a specific project is to assign him/her a user role. You can choose from User, Project Manager, Finances Manager, Moderator, Admin, and Guest.
- Go to the USERS & LICENSES section on the Main Menu (on the left side).
- From the list of your Organization’s members choose a person whose role you want to change and click on the name.
- Click the EDIT button on the Toolbar.
- Click on your Organization listed among licenses and permissions your colleague owns.
- Panel with roles will appear on the right side.
- Choose one from the list.
- Click SAVE or SAVE & CLOSE on the Toolbar.
By assigning roles you decide at the user level what a single user can do or see across all the apps. Read more about user roles and permission.
Creating clients and projects
Teams that collaborate using Futuramo create multiple projects and clients (if the project is for a client). Projects are paramount to manage work successfully across all apps.
Steps to create a project:
- Go to the Projects app.
- Click on +NEW PROJECT on the Toolbar.
- Name your project.
- Choose Add new client.
- Enter a client name.
- You can add a description.
- Select status for the project.
- Click SAVE or SAVE & CLOSE.
Once created projects and clients are available across all the apps.

Assigning users to projects
After you have created a project, assigning users is simple.
- Go to the Projects app.
- Open a chosen project.
- Go to the ASSIGNED USERS section (under the project name).
- Click on the EDIT button on the Toolbar.
- Click ASSIGN USER on the Toolbar. A slide out panel with members of your Organization will roll up.
- Choose ASSIGN ALL or add colleagues one by one.
- Click SAVE or SAVE & CLOSE.

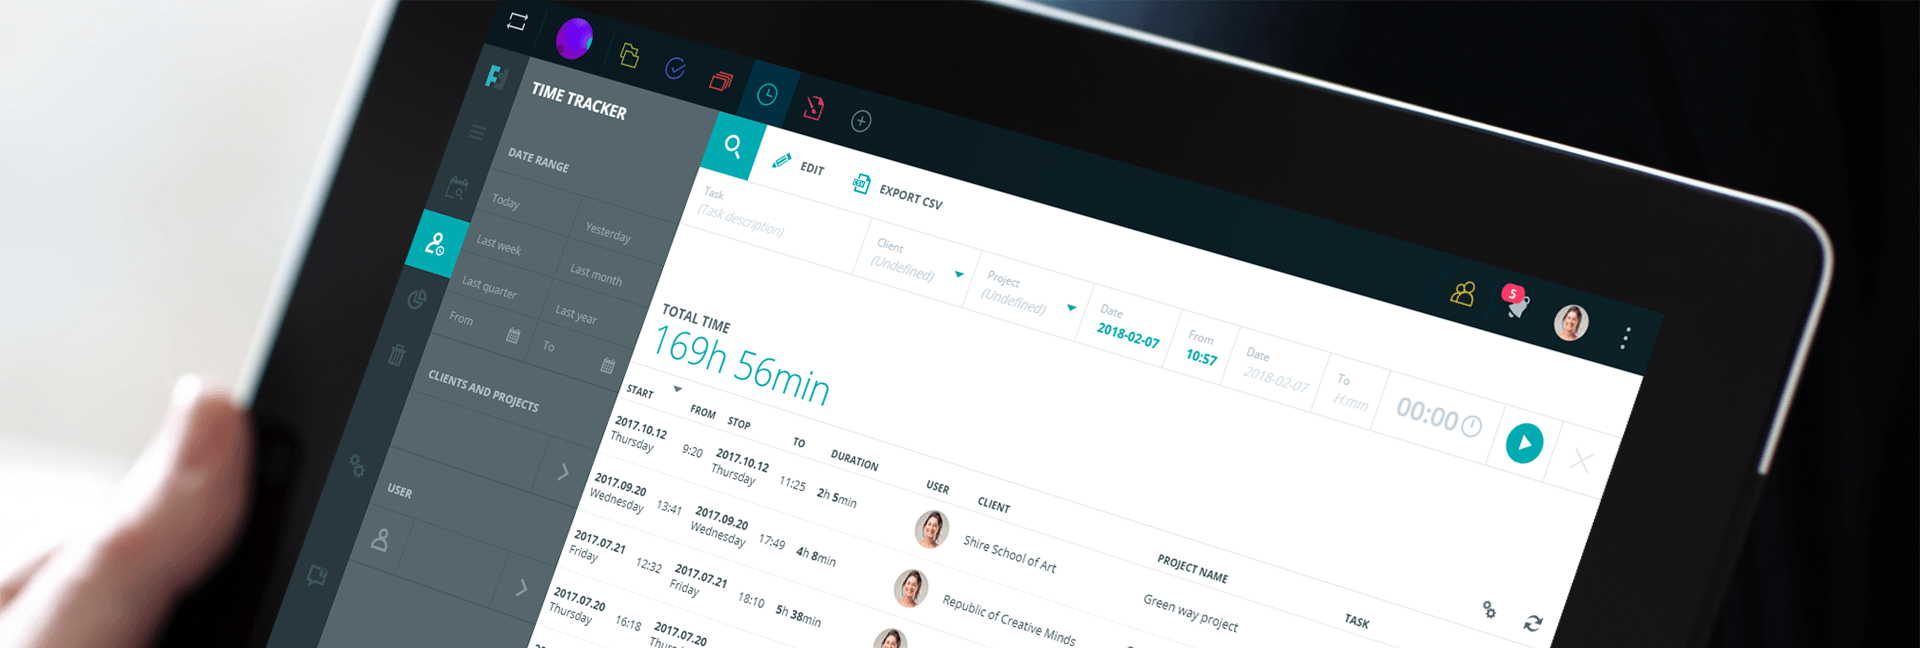
Now your account and your Organization are ready to work. Go to the Futuramo Tasks, Futuramo Visual Tickets, and Futuramo Time Tracker and collaborate with your team.
Last updated: 7/2/2018