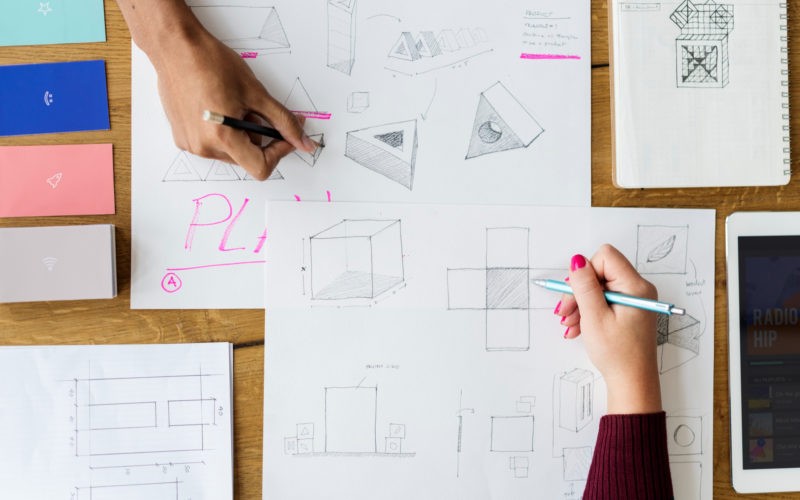
Embarking on electronics product design starts with an idea that evolves into a tangible prototype through a blend of creativity and pragmatism. For electronics product design engineers, this iterative process is like sculpting, where each step refines the vision. Challenges encountered are opportunities for improvement, making engineering a blend of art and science.
As you progress from sketches to working prototypes, iteration remains crucial, transforming ideas into mature designs through practical feedback. This journey, though rigorous, highlights persistence and dedication, reflecting how every market-ready product was once a meticulously crafted prototype.
Conceptualizing the Idea
At the heart of every electronic product lies a core idea conceived to address specific needs and challenges. Transitioning from abstract thought to a tangible prototype involves meticulous planning and analysis to ensure viability.
Identifying Needs and Challenges
You begin by pinpointing the exact problem your product aims to solve. Gathering data on consumer demands or industry gaps is crucial. For instance, you might notice a need for energy-efficient home appliances in response to rising energy costs. Your task is to define who your end-users are, what they require, and the difficulties they encounter that your product will address.
Brainstorming Solutions
Next, channel your creativity to generate various solutions. Collaborative sessions with your team to bounce ideas off one another can spawn innovative approaches. During brainstorming, consider incorporating techniques like mind mapping or SCAMPER (Substitute, Combine, Adapt, Modify, Put to another use, Eliminate, Reverse) to systematically explore all possible angles.
Feasibility Assessment
Before proceeding, it’s essential to evaluate the feasibility of your idea. This involves a technical assessment, market analysis, and preliminary cost estimations. Engaging with professionals from companies specializing in electronic design services can be beneficial in understanding technical constraints and aligning them with market expectations. Your objective here is a balanced perspective on whether your product can be sustainably created and competitively positioned in the market.
Design and Development
Embarking on the journey from conceptual sketches to a tangible electronic product is exhilarating. Your attention to detail during this phase is pivotal. It’s like piecing together a complex puzzle where each component must fit perfectly.
Developing the Circuit Design
Your circuit design is the heart of the electronics product. You’ll start by sketching a schematic diagram, which is essentially a roadmap explaining the connections and functions within your device. It’s important to ensure the schematics are mistake-free:
- Use computer-aided design (CAD) software for precision.
- Check the logic of your design to avoid errors during prototyping.
Selecting Components
Now, you’ll translate your schematic into a list of physical components. Selecting the right parts requires a balance of performance, cost, and availability:
- Resistors, capacitors, ICs: Choose based on required specifications.
- Pay attention to package size and power ratings.
- Consider lead times for parts to manage your project timeline.
Designing the Prototype
Designing your prototype is where your product begins to take shape. Here’s your focus:
- Create a printed circuit board (PCB) design, converting schematics into a layout that a manufacturer can produce.
- Iteratively test and adjust the PCB design using software simulations to reduce errors.
Prototyping and Testing
Transitioning your electronics product from a concept to a tangible form is exciting and critical. This phase will require meticulous building, testing, and refining.
Building the Prototype
Your first prototype is a rough draft of your vision. Begin by gathering the necessary components:
- Microcontrollers
- Sensors
- Actuators
- Power source
- PCB (Printed Circuit Board)
Construct it to match the design specifications, and make sure to document every step for future reference.
Initial Testing
Once assembled, it’s time to see your prototype come to life. Run functional tests to verify:
- Power supply integrity
- Signal connectivity
- Component responses
- Software and hardware integration
Take note of any discrepancies, as these initial issues will guide your iterative improvements.
Iterative Improvements
Refining your prototype is like solving a puzzle; it can be challenging but rewarding. Address each issue noted during testing by:
- Adjusting design parameters
- Swapping components for better performance
- Refining the software code
After each modification, repeat the testing process until your prototype meets all design requirements. This iterative cycle is the heart of turning your idea into a robust product.
Finalizing the Product Design
Reaching the endpoint of electronics product design is a thrilling moment. Now, you’ve got a concept that’s ready to take on the world, but before it does, there are pivotal steps to ensure your product can be manufactured efficiently and meets market needs.
Refining the Design for Manufacturing
Once your prototype proves to be functional and meets the desired requirements, the next step is making sure that it can be manufactured at scale. This means refining the design with an eye for cost-effectiveness, materials selection, and assembly processes. It’s crucial to consult with manufacturers to identify and rectify any potential production issues. Here are a few points to consider:
- Material Availability: Ensure that the materials used in your prototype are readily available and scalable for mass production.
- Design Simplification: Look for ways to simplify the design without compromising on quality, which can reduce production costs and time.
- Component Standardization: Using standard components instead of custom parts can lower costs and make the supply chain more reliable.
Preparing for Mass Production
Preparing for mass production involves finalizing detailed documentation and quality control measures. This ensures consistency across all units being manufactured. A clear and comprehensive set of documents, like assembly instructions and Inspection and Testing protocols, must be created. Here’s what you need to have ready:
- Bill of Materials (BOM): A detailed breakdown of every component, material, and quantity required to build your product
- Manufacturing Work Instructions: Step-by-step guidance that outlines assembly and production processes
- Quality Control Standards: Specifications for quality checks and metrics that your product must pass throughout the production
By rigorously attending to these details, you equip your product for a smooth transition from concept to a market-ready commodity, ensuring a quality offering to your future customers.
Conclusion
The journey from idea to prototype in electronics product design involves creativity, pragmatism, and iterative refinement. By tackling challenges as opportunities for improvement, engineers blend art and science to transform sketches into mature designs. This meticulous process, from conceptualization to prototype testing and manufacturing readiness, emphasizes the importance of persistence and attention to detail. The result is a market-ready product, meticulously crafted through repeated iterations and practical feedback, ensuring functionality, cost-effectiveness, and scalability.


