


What is the best camera?
For a long time, You thought the best were the ones with the highest price tag. They have to be made by big camera brands like Canon, Fujifilm, and Leica. You need the highest MP and the fastest aperture speed. You were convinced that you wouldn’t be able to get the perfect photo because you didn’t have the best lens or filter. There’s this obsession that the more camera gear you have, the higher the quality of your photos will be.
You are wrong.
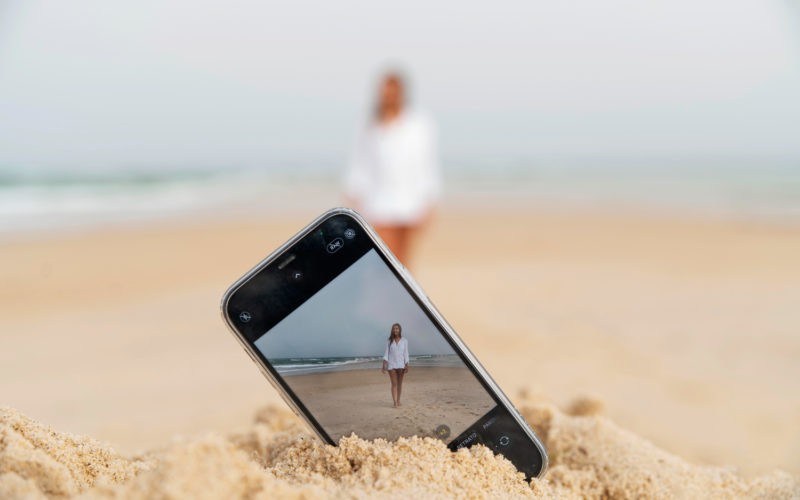
The famous photographer Chase Jarvis answers this question clearly. The best camera is the one that’s with you.
You can have the most geared-up camera in the world, but if you do not have it in hand to catch those moments, that very expensive camera might as well be a paperweight in your desk. Fancy but worthless.
But what do you have on hand? Ready to take pictures in seconds and still have those technical features that you can modify. It’s your smartphone.
And based on recent reports, it’s your iPhone.
There are over a billion iPhone users in the whole world. In the US alone, 47% of all smartphone users have iPhones. That is a very significant chunk of the population.You also have to consider that 92.5% of photos are taken by smartphones. That is why Apple, its parent company, is attracting more customers by constantly innovating their camera.
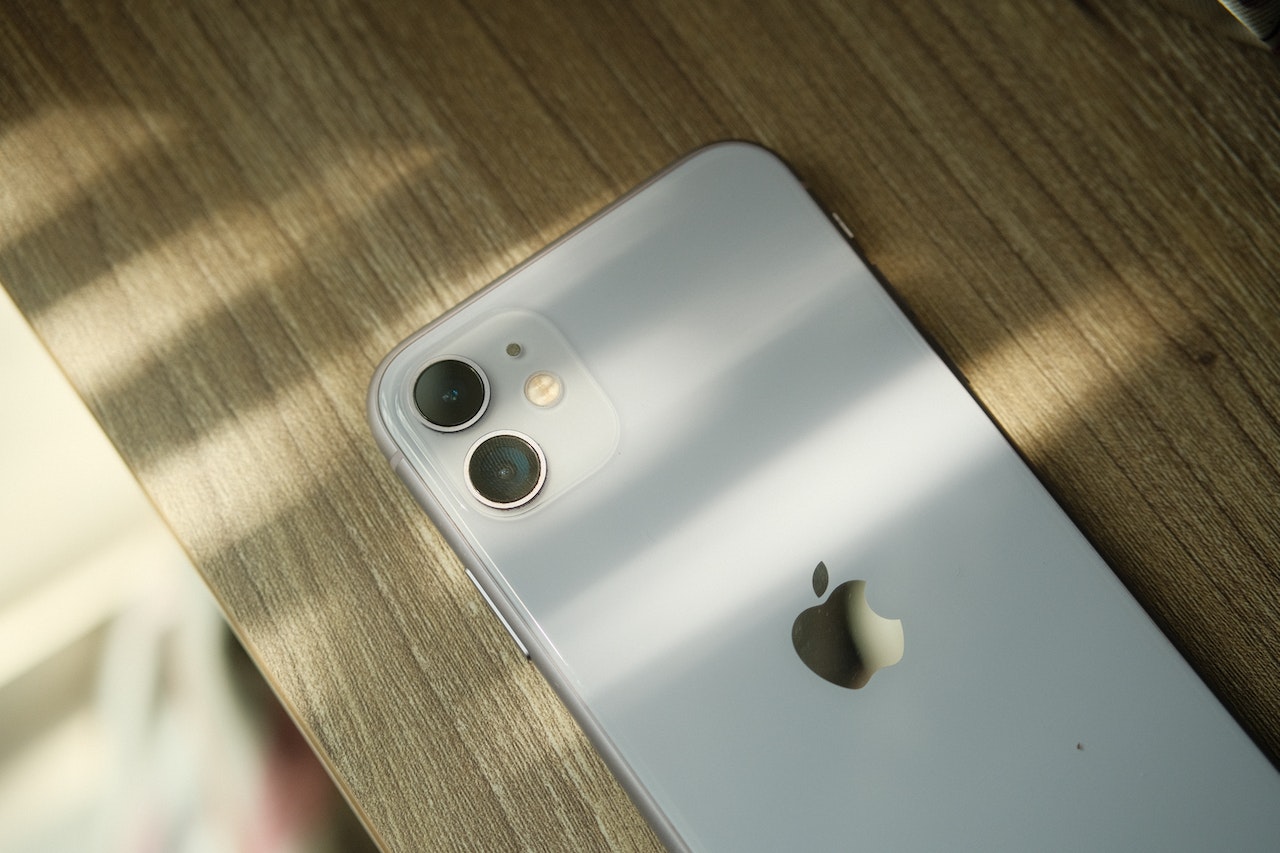
The latest reiteration of Apple’s iPhone camera gives its users the most advanced specifications you can find on a mobile phone. The base model sports a dual-camera system with 12MP for the Main and Ultra Wide Camera. The aperture speed for the main is f/1.5 and f/2.4 aperture for the other one. The phone also has optical image stabilization, True Tone flash, Smart HDR 4, night mode, lens correction, and various other features that will grab a photography-geek heart.
But can your iPhone recreate photos taken by a professional camera? Sure it can.
It’s easy, follow the guide below for iPhone photography tips for beginners.
Different iPhone Photography Modes

First in our iPhone photography tips, know your camera.
Familiarize yourself with the various functions of your iPhone camera. As it is a smartphone, some of its functions may differ from a conventional camera. Know how each button functions and how to add effects to your photo. This will make taking photos effortless and more fun.
The iPhone offers a variety of modes in its Camera App to help get the best photo. They are very easy to use, especially for beginners.
1. Photo
When you open your Camera App, this is the mode you start with. And to be honest, most of the pictures you’d take would be in this mode. The camera’s focus and exposure are adjusted automatically. You can tap on the different areas on the screen if you want to change the exposure and focus. Press and hold the screen until you see AE/AF Lock if you want to keep exposure and focus in the same spot.
In some models, you could press and hold the shutter button to take a quick burst of photos.
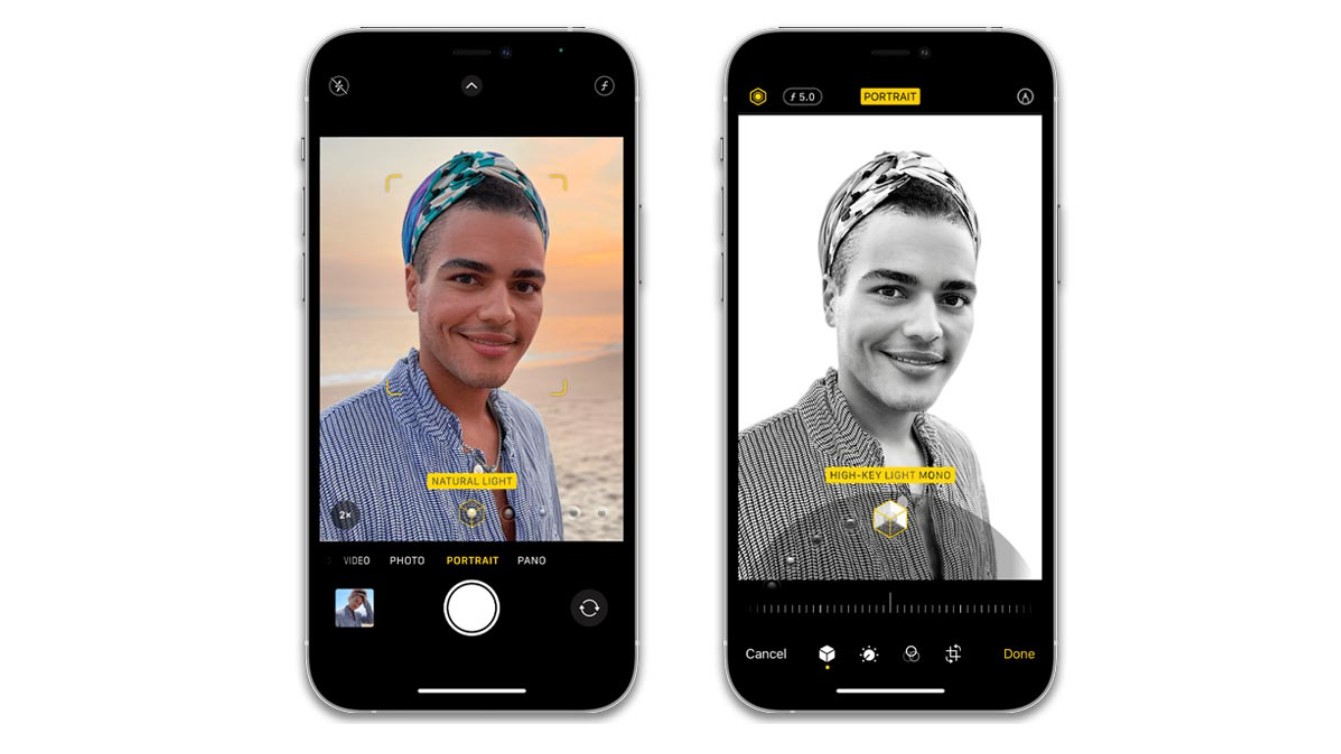
2. Portrait
In portrait mode, the subject remains sharp while the background is blurred. It makes the object stand out more and creates a depth-of-field effect. As the name suggests, this is best for taking photos of a person.
When you swipe into portrait mode, the camera prompts you when you are too close to your subject. You can then choose which lighting effects you want for that amazing photo.
In iphone photography, use distinct visual elements at different depths to create levels. It keeps photo from appearing flat.
If you have iPhone X or later models, you can have this feature even when taking selfies.
3. Pano
We can call this the panoramic view. This is most fitting in capturing landscapes. It offers a wider view that can fit on your phone’s screen.
This mode has a guide bar on the screen to help you in taking the photo. Start from the left or right, just make sure the arrow is pointing in the opposite direction. Tap the shutter button and move your camera slowly from one side to the next. Try to move your camera in a straight line. Prompts would appear asking you to slow down and if you are veering away from the yellow line, it’ll ask you to move up or down.
After taking your photo, add more creativity to your photos. To edit your photos, you can use a background remover. Post your creative edits on your various social media sites and share them with your family and friends.
Different Functions of the iPhone Camera
Another example in our iPhone photography tips for beginners do not be limited by the conventional. Explore the other functions or features of your camera and see what you can come up with
Aside from taking your typical stills, the iPhone offers an added spin in taking photos.
1. Photo
a. Live
To add a fun effect, take a Live Photo. It records what happens 1.5 seconds before and after you take a picture. You can choose which would be your key photo and add some fun effects.
Just open the Camera app and set it to photo mode. Make sure that Live Photos is turned on, and you’ll see the button on top of your screen. Tap the shutter button to take the picture.
You can add the effects after taking the picture. Open the Live Photo and then tap on the Live Button. You can choose Loop, Bounce, or Long Exposure. Be creative and see the beautiful effects it can add to your picture.
b. Photographic Styles
You can customize the settings of your Camera to reflect your style. Set up your Photographic style to your preferred Tone and Warmth. There are other presets available for you to swipe through. Find the best one that fits your iPhone photography game.
c. Filters
Adding filters to your photo is another iPhone photography tips for beginners. It adds a specific effect to enhance your iPhone photography. Filters reduce the light coming to the lens, enhance the colors, and minimize reflections and glare.
Open the Camera app for iPhone X and earlier, tap the tri-color button on top of the screen. For later versions, tap the arrowhead first and then the tri-color button.
Swipe through the different filters and tap one to apply it to your photo.
2. Portrait
a. Lighting Effects
In Portrait mode, you can add various lighting effects to your photos. You can choose between five effects.
- Studio Light used to brighten facial features
- Contour Light, for more dramatic directional lighting
- Stage Light, to isolate your subject in the spotlight
- Stage Light Mono, for stage light in classic black and white
- High-key Light Mono, for grayscale subjects on a white background.
Your Camera App should be in Portrait mode so you can see the different lighting effects on the bottom part of your screen. Swipe through the different effects and see it applied in real time. Tap the one you like and take the photo.
You can also apply the filters on photos you’ve taken previously.
Use a background remover to edit your photos. Show that artistic side of you and try the various editing tools available on the app.
b. Depth Control
In Portrait mode, you can adjust the depth by using the Depth Control slide. Though, it is only available in iPhone Xs, Xr, and later models.
Your iPhone photography game must be on point regarding depth of field. Adjusting the depth would separate the foreground from the background drawing the eye to the subject of your photo. Depth can help you convey intention and bring about meaning in your work.
iPhone Photography Tips for Beginners
Now that you understand what your iPhone camera can do, here are the other iPhone photography tips.
1. When Using Photo Mode

a. Make sure to Turn the Camera Grid On
One composition guideline in photography is the Rule of Thirds. This is to help you place your elements in a photo.
The rule is to place your subject, not in the very center of the photo. Why not? Because the photo then becomes static. The viewer’s eyes will be directed on the center and their attention will be stuck there.
If you follow the rule and place your subject off-center, the viewers are encouraged to look beyond the subject and be interested in the other elements in the photo.The goal here is to make your photo interesting and not fall flat.
To use the grid on the camera screen, go to Settings and then Camera. You can then turn on the grid.
A grid will then be seen on your camera screen. The ideal position is atop of one of the four points where two lines intersect. Your subject will then be placed off-center both horizontally and vertically.
b. Long Press on your Subject for Auto Focus and Exposure Lock
Another one of our iPhone photography tips for beginners is the use of AE/AF Lock feature. You’d want to use this if you want perfect focus and exposure in your photos.
To use AE/AF Lock, just point your camera at the scene. You then tap the screen to indicate which part of the scene you’d like the camera to focus on. A yellow box will then appear. This indicates your focus point. You can adjust exposure levels to make it darker or lighter.
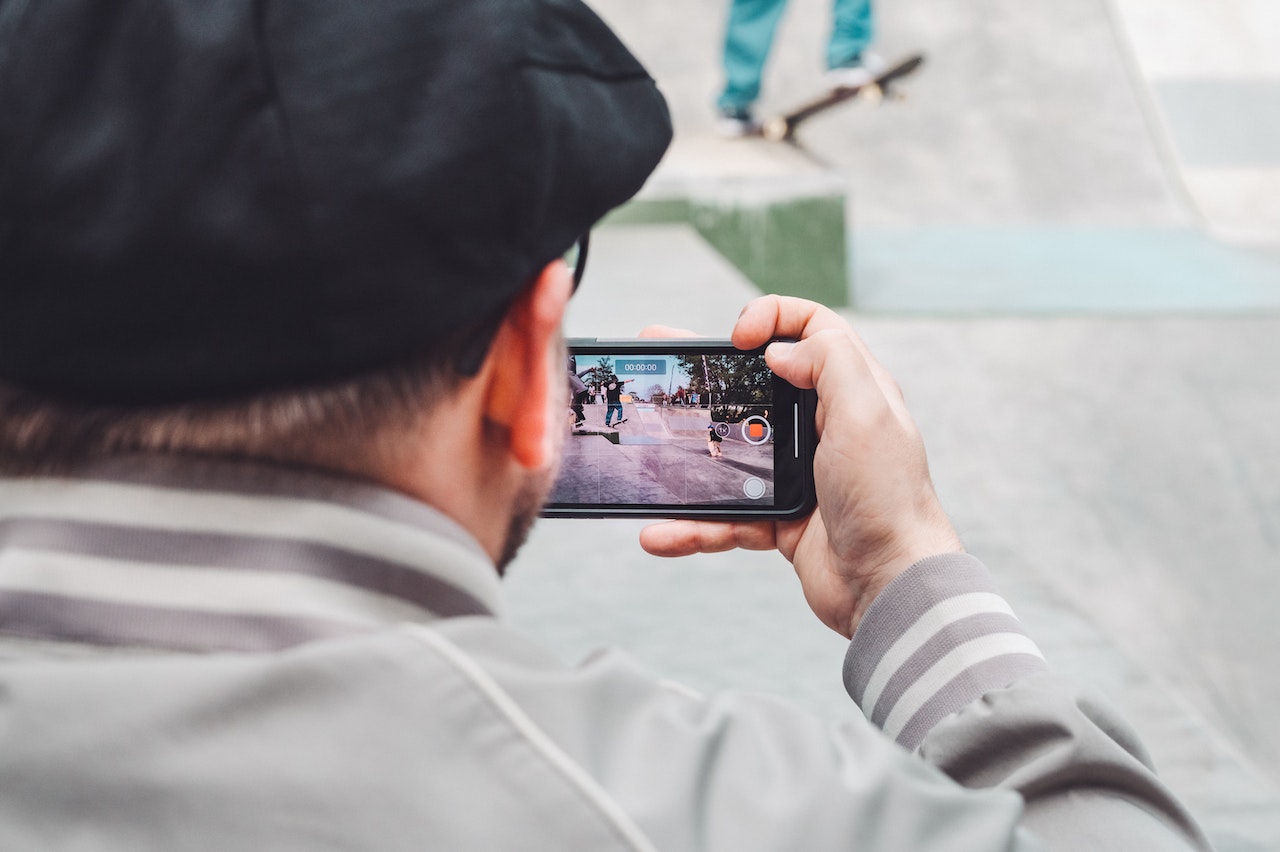
AE/ AF Lock is best if you take a photo with movements in the background. This will help prevent your camera from refocusing every time something moves in the background.
It’s also best to take multiple shots of the same scene. This feature allows you to take pictures of the same scene with different compositions.
2. When Using Portrait Mode
For taking photos of people, portrait mode is best. It is not really good when used with non-human subjects like flowers, pets, furniture, etc. The software used recognizes people’s features most easily.
This doesn’t mean that it can only take pictures of people. It just takes a lot of trying different lighting and compositions.
3. How to Effectively Take Panoramic Picture

Here’s one of our iPhone photography tips for beginners, to capture amazing scenery, use the Pano mode. This mode enables you to take a wide-format photo with a field of view greater than that of a human eye.
It has its drawbacks though, the outcome of your photo depends entirely on how steady your hands are. Since you’ll be moving your device from one side to the other, small movements could make your photo appear crooked.
One iPhone photography tip is to avoid moving subjects when taking panoramic shots. Since the photo is made up of several stitched-up images, you’ll have a problem if the scene keeps on changing. Your movement can also affect the angle of the photo you are taking.
Look here to see an in-depth tutorial on how to take panoramic pictures.
4. Look for Leading Lines

Photographer Lukas Kosslow explains that leading lines are compositional techniques where human-made or natural lines lead the viewer’s eyes through a photograph to the subject or the heart of the image. It adds aesthetics to your photos and shows a higher level of composition.
One example of leading lines are roads. A popular scene would be a snapshot of an empty road that leads out into the unknown. The viewers are drawn to the vertical line and without noticing are “pulled” toward the direction the road is going. This is the effect vertical lines can do. They create depth and Symmetry.
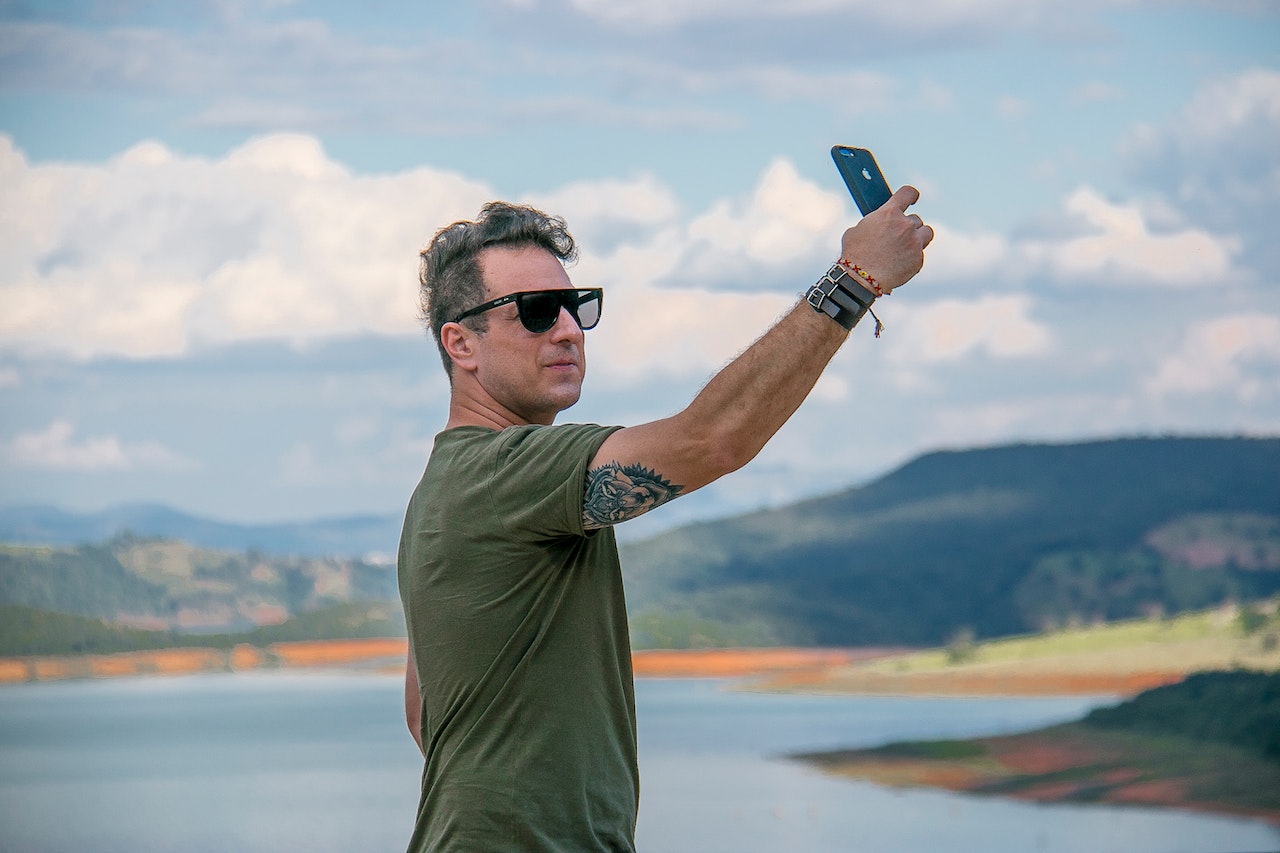
You don’t necessarily need a structure as a leading line. A strong contrast between colors can also be used. Imagine a mountain view scenery. The white color of the clouds and the vivid green of the mountain. The two different colors create a boundary that can be used as a leading line.
Use your imagination and practice taking pictures from different perspectives. You’ll be surprised at what you end up with.
Conclusion
The famous photographer Ernst Haas said that there is only you and your camera. The limitations in your photography are in yourself, for what we see is what we are.
This statement rings true and is something that you need to always keep in mind. Because you are only limited by your imagination and not the equipment or gear that you have. You may have the highest-spec camera, but it will not automatically take a great picture.
Photography is all about passion and creativity. And like art, the photos you take are a reflection of you. It showcases how you perceive the world.So go ahead, grab your iPhone. Start taking pictures. Let the world see what you see.
⸻ Author Bio ⸻

Jacqueline Aguilar, Removal.AI
Jacqueline Aguilar has a degree in Communication Arts and is an avid reader. Writing comes second in her list of passions. She has an interest in Photography, Film, Music and Tech.
Currently holding a desk job and is writing content marketing as a creative outlet.