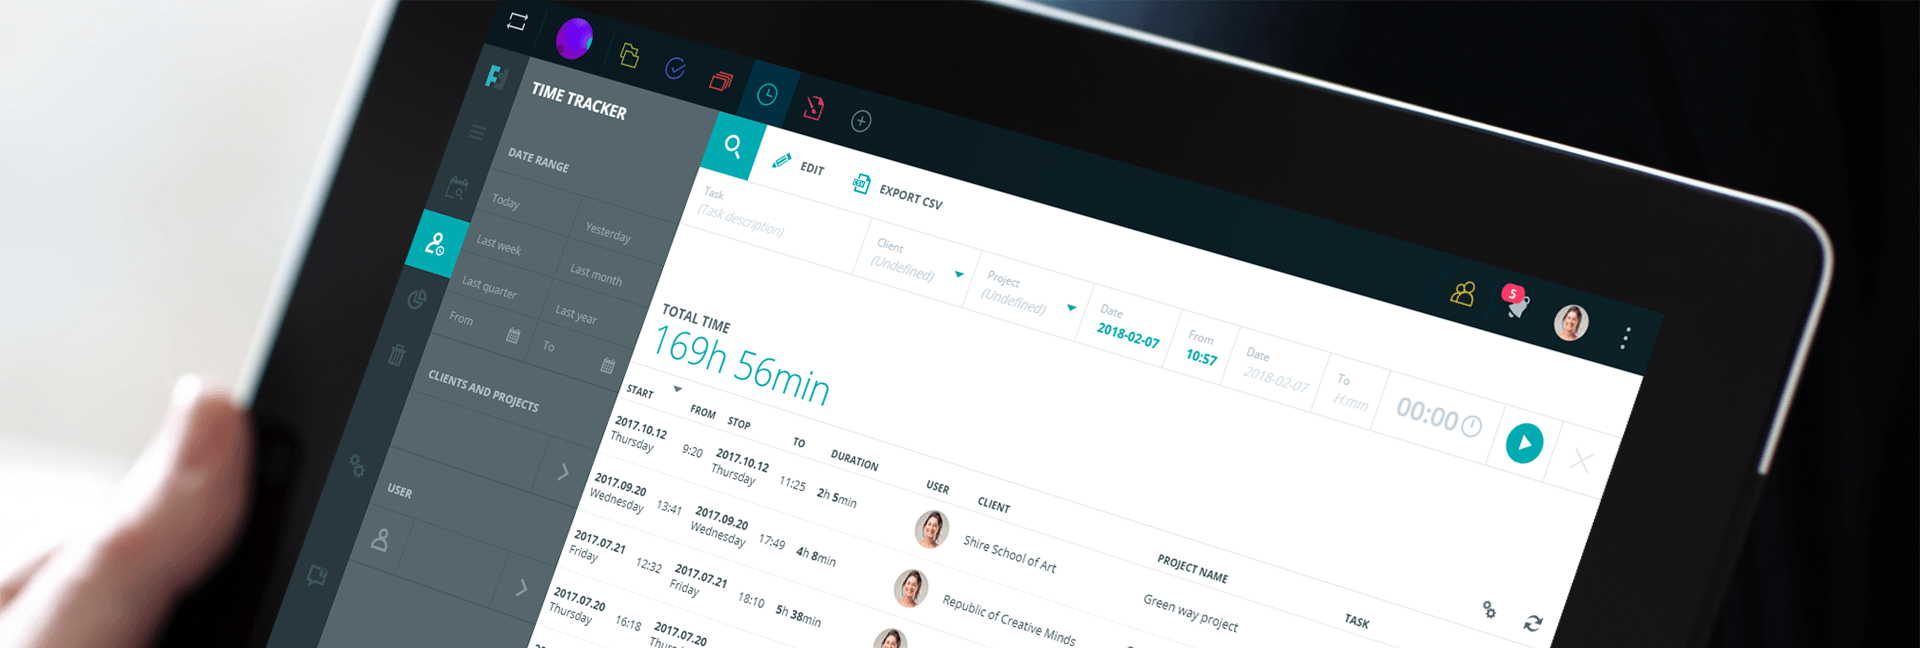


Filtering is the key tool to finding things fast and easy. With the powerful filtering options, you get answers to questions like what’s on your to-do list today, what issues need to be fixed at the earliest, what is the progress of the ticket you’ve issued, or what is an overall performance of your team. These features also come in handy when you want to create a personalized, clear view of your most important tickets.
About the features
The first thing to do when reviewing the long list of tickets is to orient yourself. This involves sorting the data and filtering out records you don’t need to see. Futuramo offers a few approaches to organizing your tickets list.
Here are some tips and hints for mastering filtering, searching and sorting in Visual Tickets.
Tip 1: Filters Panel
One way to filter information on Futuramo is by using the advanced Filters Panel, which is the key filtering feature to find what you’re looking for.

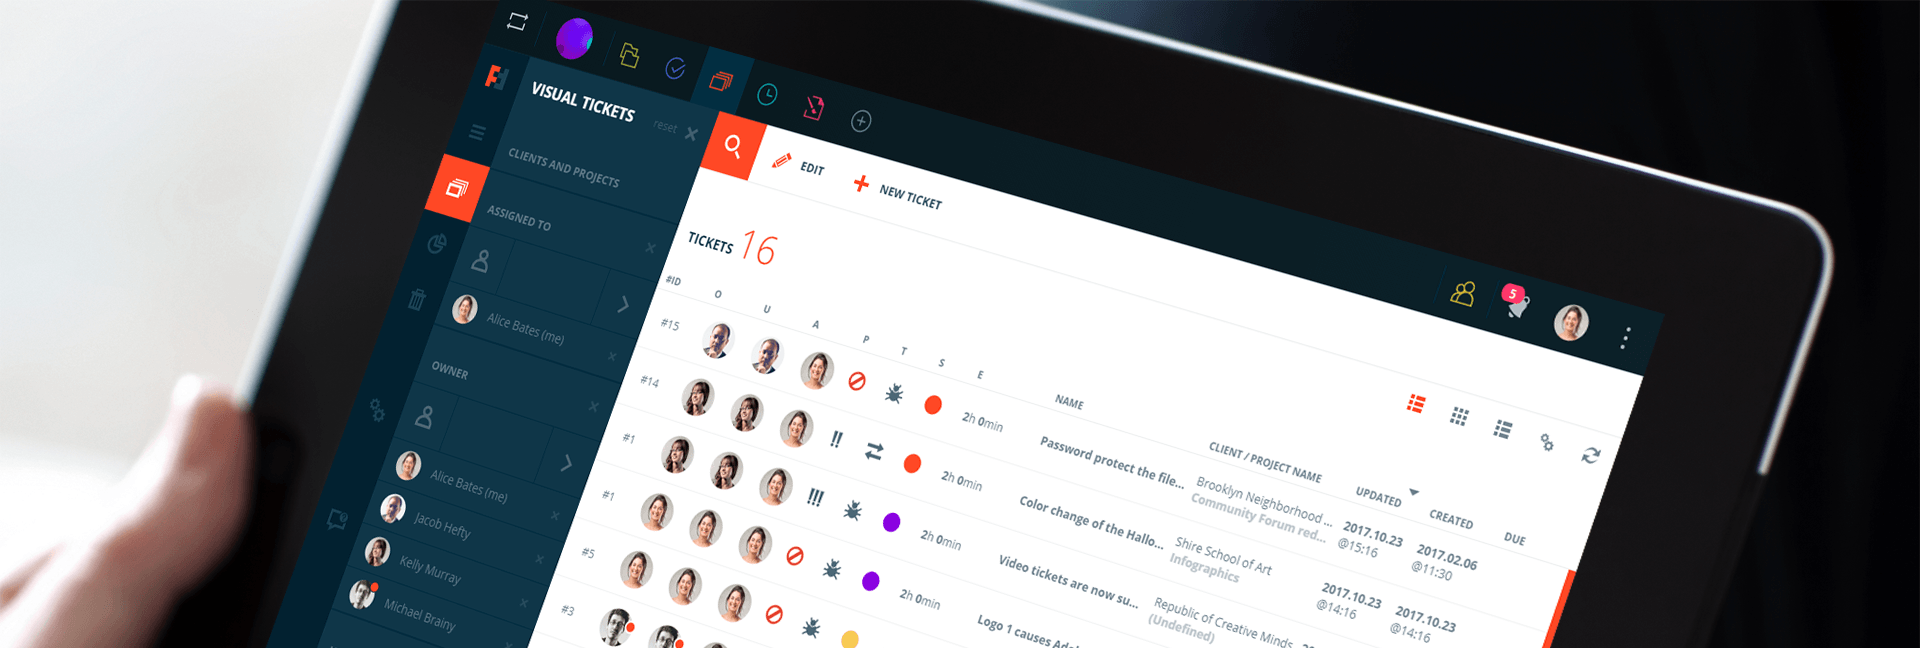
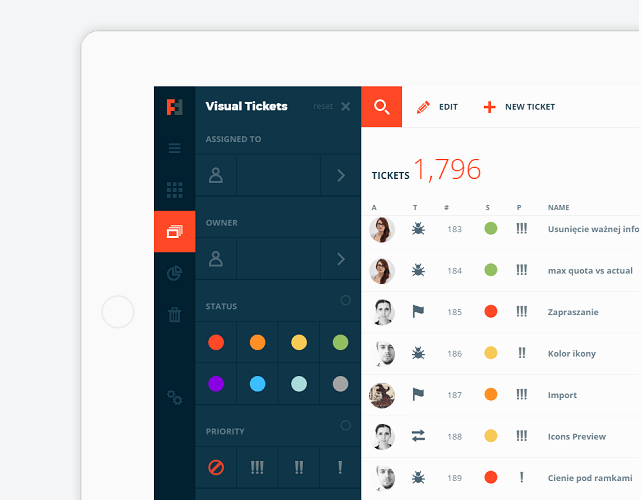
The Filters Panel allows filtering by attributes such as:
- Assigned to: Filter by the person assigned to a ticket.
- Owner: Filter by the person that created the ticket.
- Status: Pick among to-do, in progress, review, done, needs feedback, to be discussed, on hold, archived.
- Type: See only the tickets that are bugs, change request, feature request or feedback.
- Priority: Narrow down your results to the tickets with the highest priority.
- Estimation: Limit results to the tickets that are the quickest/longest to resolve.
- Date created: Filter results by the date or timespan when the ticket was created.
- Date updated: Limit results according to when a ticket was updated.
Example: To see only your today’s most important tickets, simply:
- Click the person icon,
- Select the red to-do status,
- Pick the showstopper or the high (III) priority button.
Try this useful trick:
If you want to see the tickets assigned to you or created by you, tap the person icon in the filtering panel. That will do the work.

Tip 2: Search Box
Another way of locating what you need is by using real-time Search Box. Tap the search icon at the top of the app and type in your search query – a name, phrase or any other keyword associated with the ticket you’re looking for. The list will instantly reveal the most accurate results for the phrase/word/keyword you entered.

Try this useful trick:
You can narrow down your results by using the following formulas:
- Ticket ID: enter #123 to search for a specific ticket by the ticket ID.
- Owner: enter owner:john to search for tickets created by a specific person, e.g. your colleague John.
- Updater: enter updater:mary to search for tickets, whose status was updated by a specific person, let’s say, Mary.
- Assignee: enter assignee:kate to search for tickets assigned to Kate.
- Priority: to search for tickets with a certain priority, type in priority:showstopper, priority:high, priority:normal, priority:low and press Enter.
- Type: search for tickets of a specific type (e.g. type:bug, type:change request or type:inspiration)
- Status: search for tickets with a particular status (e.g. status:to do, status:done)
- Client: search for tickets assigned to a particular client (e.g. client:Futuramo)
- Project: search for tickets assigned to a particular project (e.g. project:landing page)

Tip 3: Sorting
A third method to get the clear view is by sorting data on your tickets list. Have a look at the columns. One mouse click on the priority column and you will see the tickets sorted by priority with the highest priority — the infamous “showstopper “— at the top. Quick second click on the same column reverses the sorting order with the lowest priority at the top, which can be useful at times. One click on the status column and the list will show the to-do tickets right on the top of your list.

You can sort out by the ticket ID (#ID), Owner (O), Updater (U), Assignee (A), Priority (P), Type (T), Status (S), Estimation (E), Name, Client/Project Code, Date of Update, Date Created, Due Date.
A useful trick:
You can use filters, search, and sorting all at once to search for something specific on your tickets list. Let’s say, you’re searching for a bug-related ticket with a typo on your website. Just enter the keyword “typo” in the Search Box and pick a to-do status from the Filters Panel — that’s it. Remember to reset your settings (filters, search) once you want to see all tickets again.
Visual Tickets’ powerful filtering, searching and sorting features will help you organize and plan your day. By sorting out the columns, you’re putting tickets in the correct order. By using the filtering panel, you’re hiding temporarily irrelevant information and revealing only the tickets you’re interested in at the moment.
Leave us a reply if you have any questions or feedback. Create a free Futuramo account and don’t miss out on the latest updates!